Hans'gar and Franzok Strategy Guide
Tip: Click map to zoom
Tip: Click map to zoom
Tip: Click map to zoom
Tip: Click map to zoom
Tip: Click map to zoom
Tip: Click map to zoom
Tip: Click map to zoom
Tip: Click map to zoom
Tip: Click map to zoom
Hans'gar &Franzokcomprise the first encounter of The Black Forge wing of the Blackrock Foundry raid. Players must battle their way through the trash in the Workshop (entryway of the zone), then ride the elevator to the left of the entrance to get to the Slagmill Press, where Hans'gar and Franzok can be found.
This Blackrock Foundry raid strategy guide provides an overview of killing Flamebender Ka'grazfor raid leaders as well as specific tips for tanks, healers, and dps. It also includes information on harmful trash, and screenshots of harmful abilities.
This guide provides an in-depth look at Normal and Heroic difficulties, with summaries of changes in Mythic and Looking for Raid difficulties.
Looking to log a fight and improve your performance? Go to Warcraft Logs for logs, advanced fight analysis, replays, and more!
Table of Contents
Loot and Rewards
This loot overview helps you plan out your Seal of Tempered Fate Bonus Rolls. Check out ourBlast Furnace database page to filter loot by difficulty as well as by loot specialization.
LFR (650)
-
-
-
-
-
-
-
Ring: none
-
Trinket: none
-
Weapons: none
|
Normal, Heroic, Mythic (665, 680, 695)
|
 Elemental Rune for the legendary questline can be obtained while on
  Might of the Elemental Lords.
Each Blackrock Foundry boss, as well as Highmaul bosses, has a unique achievement that counts towards  Glory of the Draenor Raider. This rewards
  Gorestrider Gronnling. Hans'gar and Franzok's special achievement is
  Stamp Stamp Revolution.
There are achievements for killing each Blackrock Foundry boss, as well as Highmaul bosses, on Mythic difficulty. Killing every boss rewards  Mythic Draenor Raider, which allows you to place a special monument in your Garrison.
Notable Trash Mobs
Since Hans'gar and Franzok are the first encounter of a wing, players must pass through the trash in the Workshop to get to him. This trash is shared by the first bosses of each wing, and consists of the following enemy types:
Tanks should pull carefully in this room as the AoE damage is very heavy while either an Ogron Hauler or the Iron Slag-Shapers are alive. Try to avoid pulling other packs with the Hauler, and to pull small packs of the remaining enemies.

Enforcers' Fire Bomb
As players approach the Slagmill Press they will also encounter Blackrock Enforcers and Blackrock Forge Specialists.
- Enforcers will detonate
 Fire Bombs beneath their feet, dealing heavy damage to players who remain in the affected area.
- Enforcers also cast
 Intimidation, which will reduce the entire raid's damage dealt. The cast is not interruptible, but the Enforcers can be stunned to prevent this.
- Forge Specialists have a
 Rending Slash, which deals heavy damage to players in front of these enemies. Melee DPS should stay behind the Forge Specialists.
- Forge Specialists will attack tanks with
 Clobbering Strike; tanks should use CDs to mitigate the damage.
Hans'gar and Franzok Tips & Strategy
The Hans'gar and Franzok encounter is a straightforward fight with heavy movement and environmental awareness requirements. Periodically, one boss will exit the encounter area and activate factory machinery, giving players dangerous obstacles to avoid as they continue fighting the other boss. The fight therefore has several stages:
- 100%-85% health: Both bosses are together and conveyor belts are stationary.
- 85%-70% health: Hans'gar leaps out of the encounter area, activating conveyor belts. Players must dodge
 Searing Plates that travel along the belts.
- 70%-55% health: Hans'gar returns to the encounter area and conveyor belts are stationary.
- 55%-40% health: Franzok leaps out of the encounter area, activating conveyor belts. Players must dodge Stamping Presses as they crash down from the ceiling to avoid
 Pulverizeddamage.
- 40%-25% health: Franzok returns to the encounter area and conveyor belts are stationary.
- 25%-15% health: Hans'gar again leaves the encounter area to activate the conveyor belts and Searing Plates.
- 15%-0% health: Hans'gar returns to the encounter area, but conveyor belts continue to move, and Stamping Presses reoccur.

Dodge the Searing Plates
The most important part of this fight is avoiding the damage dealt by Searing Plates and Pulverized. Because these phases require heavy movement, healers will be less capable of saving players who take excessive damage. Fortunately, these mechanics occur in predictable patterns.
- Searing Plates may appear 4 at a time, leaving one lane safe. Five sets will spawn, with the safe lane always being adjacent to the previous set's safe lane. The direction the safe spot moves will not change until the safe spot reaches the outermost lane.
- Searing Plates may appear 1 at a time, leaving the rest of the room clear. Five plates will spawn, and each time the new plate is in a lane adjacent to the previous plate. The direction the 'danger' spot moves will not change until it reaches the outermost lane.
- These two cycles alternate until Hans'gar returns to the encounter area.

Lights indicate Stamping Press locations
There are many Stamping Press patterns, too many to describe or picture here. However, they are fairly intuitive and well telegraphed. The areas in which Presses will soon land will light up yellow, and players have several seconds to find an unlit space in which to be safe.
Note that, although the space between conveyor belts appears to be safe, and has the convenient property of allowing players to remain stationary as the belts move around them, players cannot avoid damage by standing in the safe space between two dangerous belts.
Besides dodging these environmental effects, players must survive the bosses' abilities.
Stamping Presses deal deadly Pulverize damage
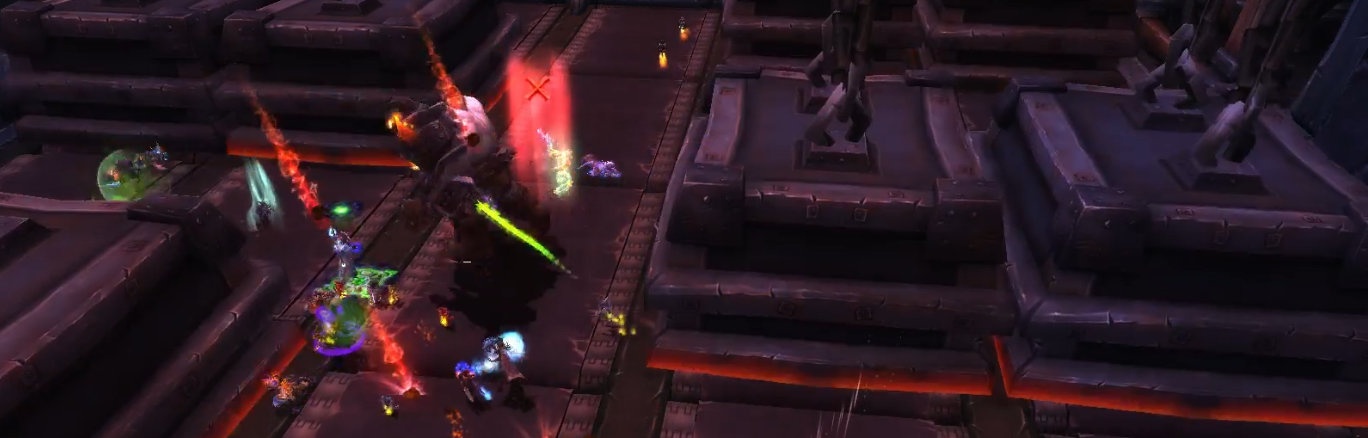
Both bosses will use  Body Slam whenever returning from the machinery to their tank. The target of Body Slam will receive a red arrow above their head to indicate this is occuring.
- This occurs at the start of the encounter, each time the bosses return from operating machinery, and about every 25 seconds while the boss is operating machinery
- The target of Body Slam will receive a Body Slam debuff and a red arrow over their heads.
- Body Slam affects all targets within 12 yards with
 Shattered Vertebrae, increasing their Physical damage taken.
- Non-tank players should attempt to avoid this by staying more than 12 yards away from the tanks.
- Following each Body Slam, the raid will be damaged by
 Aftershock; each <img style="border: 0px;" sr


